Creating Templates
The steps needed to create a template are:
- Creating a template in Microsoft CRM
- Knowing how company data is provided to Microsoft Office Word® 2007
- Creating a word document and adding placeholders for the record fields
- Publishing your document template in Microsoft CRM and generating a test document
Creating a Template
The first step is creating a new Office Template record in CRM. These are the necessary steps:
- Open your CRM and choose
Office TemplatesinSettings -
Create a new
Office Template. The following information is required:- Name
- Entity
- Data Source
- Engine
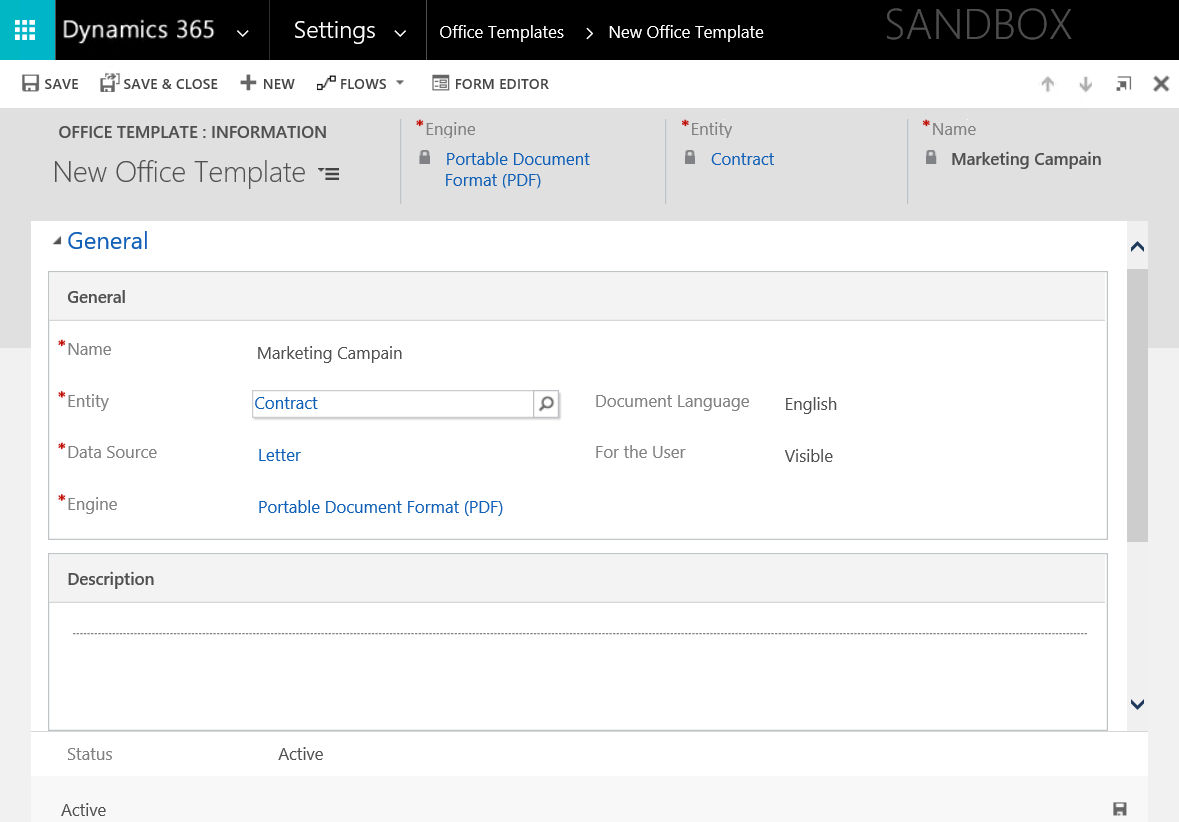 Neccessities to create office template
The XML Data Source for a Template
Before you can link placeholders in your document template, you need to know which fields are available for a given Office Template. How to sound out and utilize this information will be shown in the next step:
- Open a record, for example a contact record and choose
Create Documentfrom the menu. -
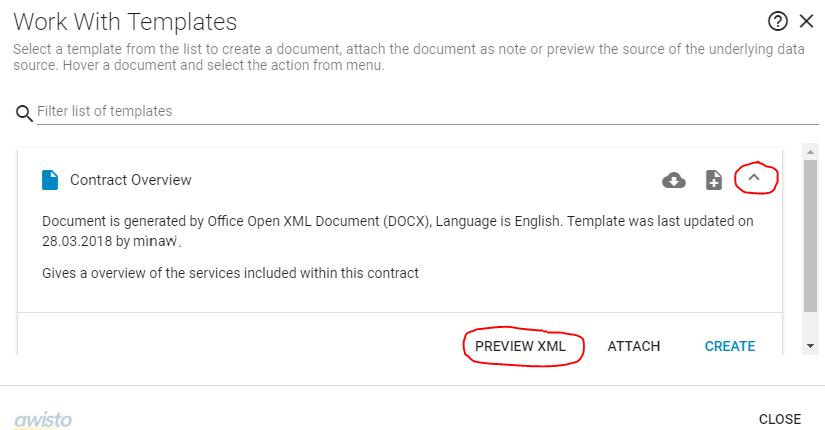
This action will open a new pop up where you need to select a template and choose
preview. -
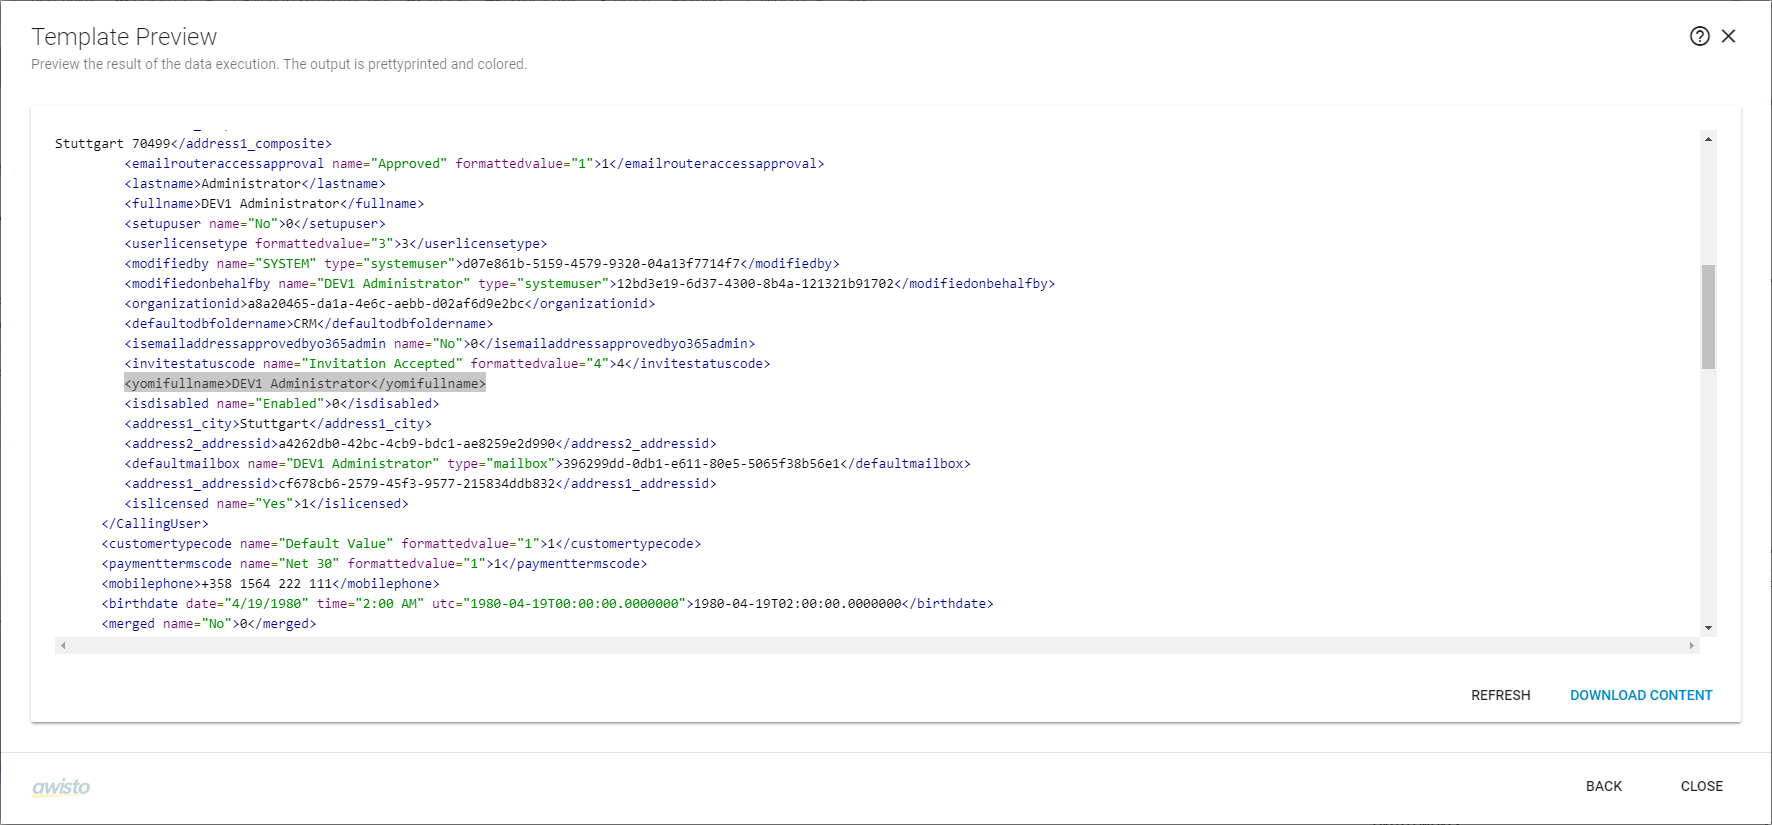
Now you can see the data structure returned by the Data Source. Every field on the formula, which is not empty, corresponds with a line in the XML source. The name of the CRM fields is equal to the name of the tags and the CRM field value is encapsulated by the particular opening and closing tags. Empty fields don’t show up in such tag lines.
For instance here you can find:
<?xml version="1.0" encoding="utf-8" ?>
<data>
    <fullname>value</fullname> <!-- with the displayname of the contact (hence first name and surname)-->
</data>
Creating a Document
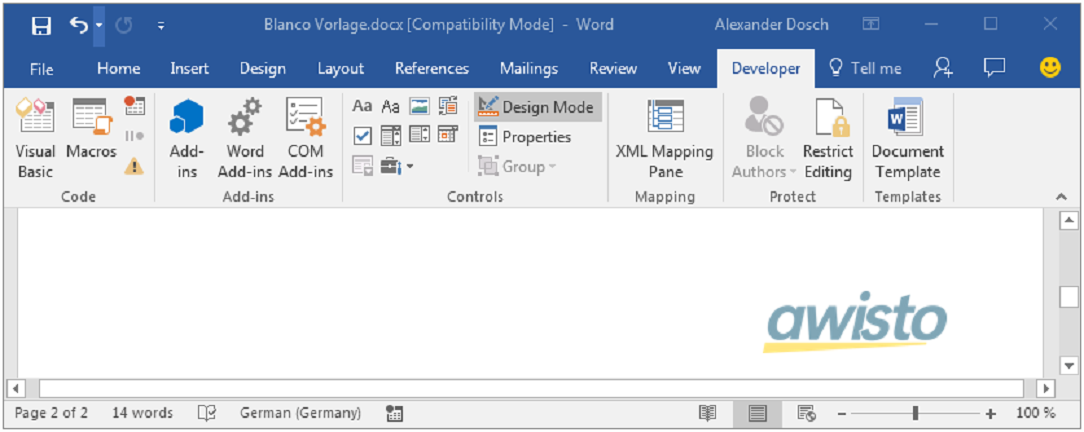
You can create new Documents by opening a new Word project and activate Design Mode in the Developer tab.
Developer Mode
Developer Settings
If you can not see the Developer tab after opening a new Word project you may have to enable the Developer mode first. You can do so by:
-
Opening the
Filetab and selectingOptions. -
Select Customize Ribbon and enable the
Developertab by checking the matching checkbox.
Now if you want to insert information from Microsoft CRM into your Word document template you have to follow these steps:
-
Microsoft Dynamics™ CRM fields are addressed by Content Controls. Inserting a Rich Text Content Control somewhere in your document will enable the Office Integration to insert the correct value, but only if it can find the corresponding field.
-
Subsequently the second step is referencing the correct CRM field/XRM tag. You can do that by clicking on the
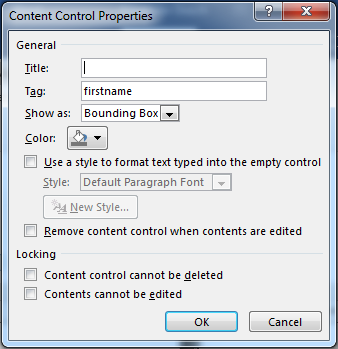
Rich-Text Content Controland selectingProperties. -
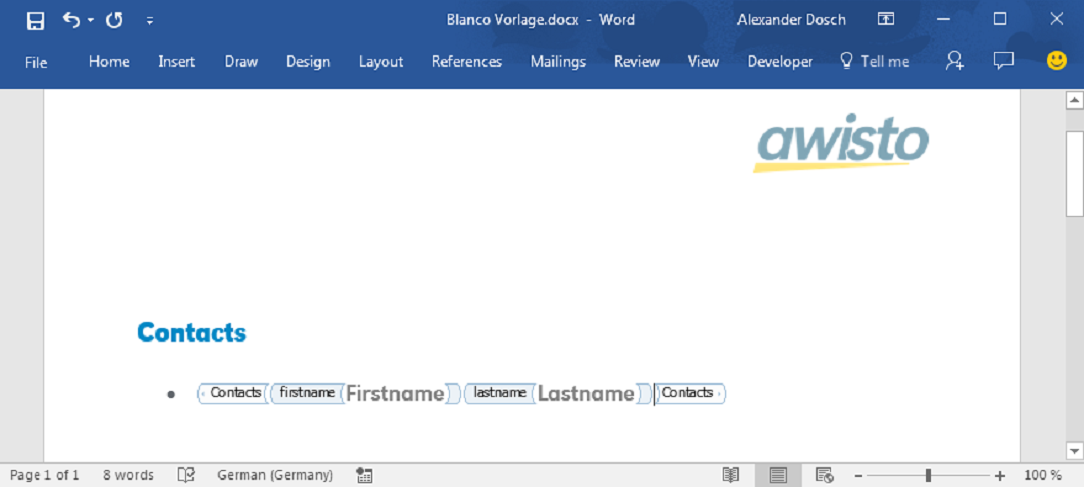
In the following dialog box insert the name of the XML tag / CRM field resp. you want to reference in the `Tag´ field. For example, insert firstname for the value of the CRM field firstname. Insert further controls as required. The text inside the placeholders of your template document can be formatted as usual and will be replaced by the field values afterward.
-
Save your template document under an arbitrary name as Word document (.docx).
contact content control
Firstname Xml sample
There is a corresponding XML Screenshot placed here, but that is currently not possible because the function to view XML code is not implemented yet.
Please pay attention to case sensitivity on labeling the placeholders by the XML tag names! By default, all field names of the CRM system are uncapitalized, but certain XML tags customized by your administrator could be written in capital letters.
